3 MUST KNOW brushstrokes for Acrylic Painting!
How to Create Brushstroke Variety Using Just One Flat Brush
What I really want to share with you, though, is something that often surprises people:
I mostly use just one type of brush.
They’re flat brushes.
People ask me all the time what brushes I use, expecting a long list of specialty tools. The truth is, I simply use different sizes of the same flat brush. The real variety doesn’t come from owning more brushes—it comes from how you use them.
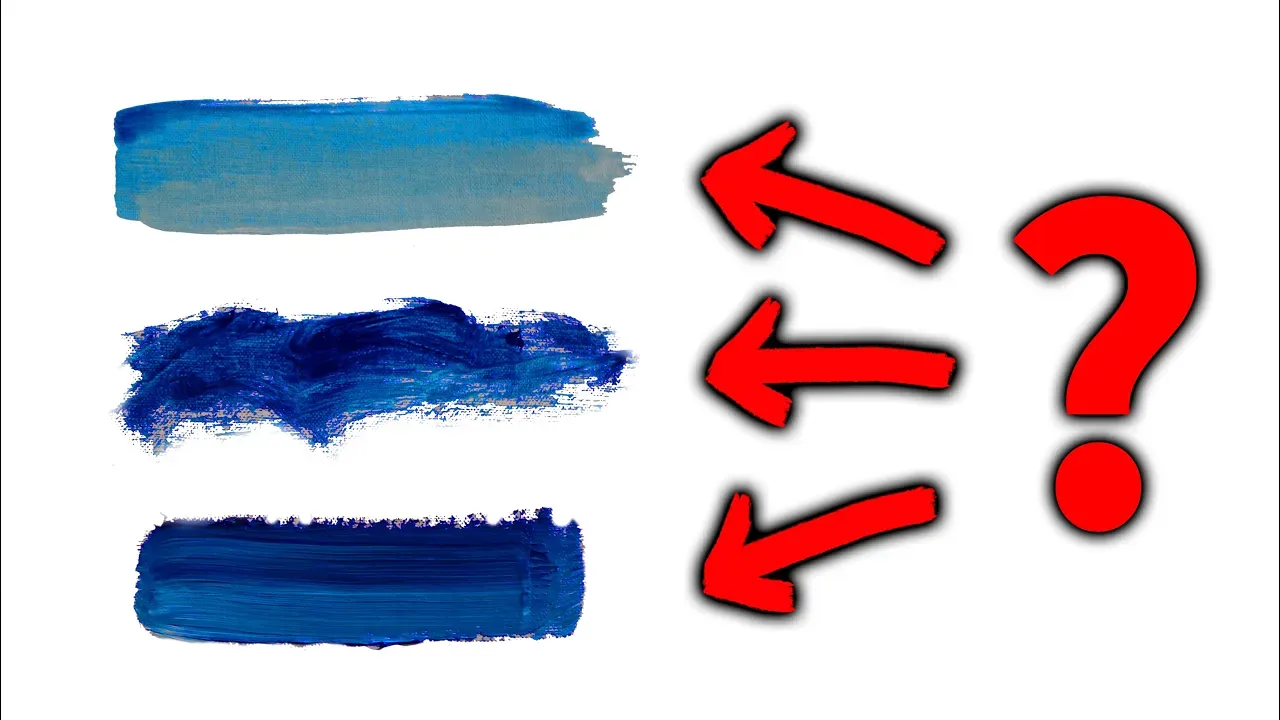
In this post, I’ll show you three simple ways to use a flat brush to create a wide range of brushstrokes:
-
Thin brushstrokes
-
Scratchy brushstrokes
-
Bold brushstrokes
Let’s get into it.
Inside the Brush Box
Opening the box from Princeton Brush felt like opening a treasure chest (Learn more about my FAVORITE brushes here). Inside were stacks of flat brushes—No. 10 flats, No. 6 flats, and smaller sizes as well. Honestly, it felt like gold.
Even with all these options, my approach stays the same:
I stick with flat brushes and simply change size, angle, pressure, and paint consistency.
Now let me show you how that works in practice.
1. Thin Brushstrokes: Creating Depth
I always like to think about order when painting, and for me, that usually means starting thin.
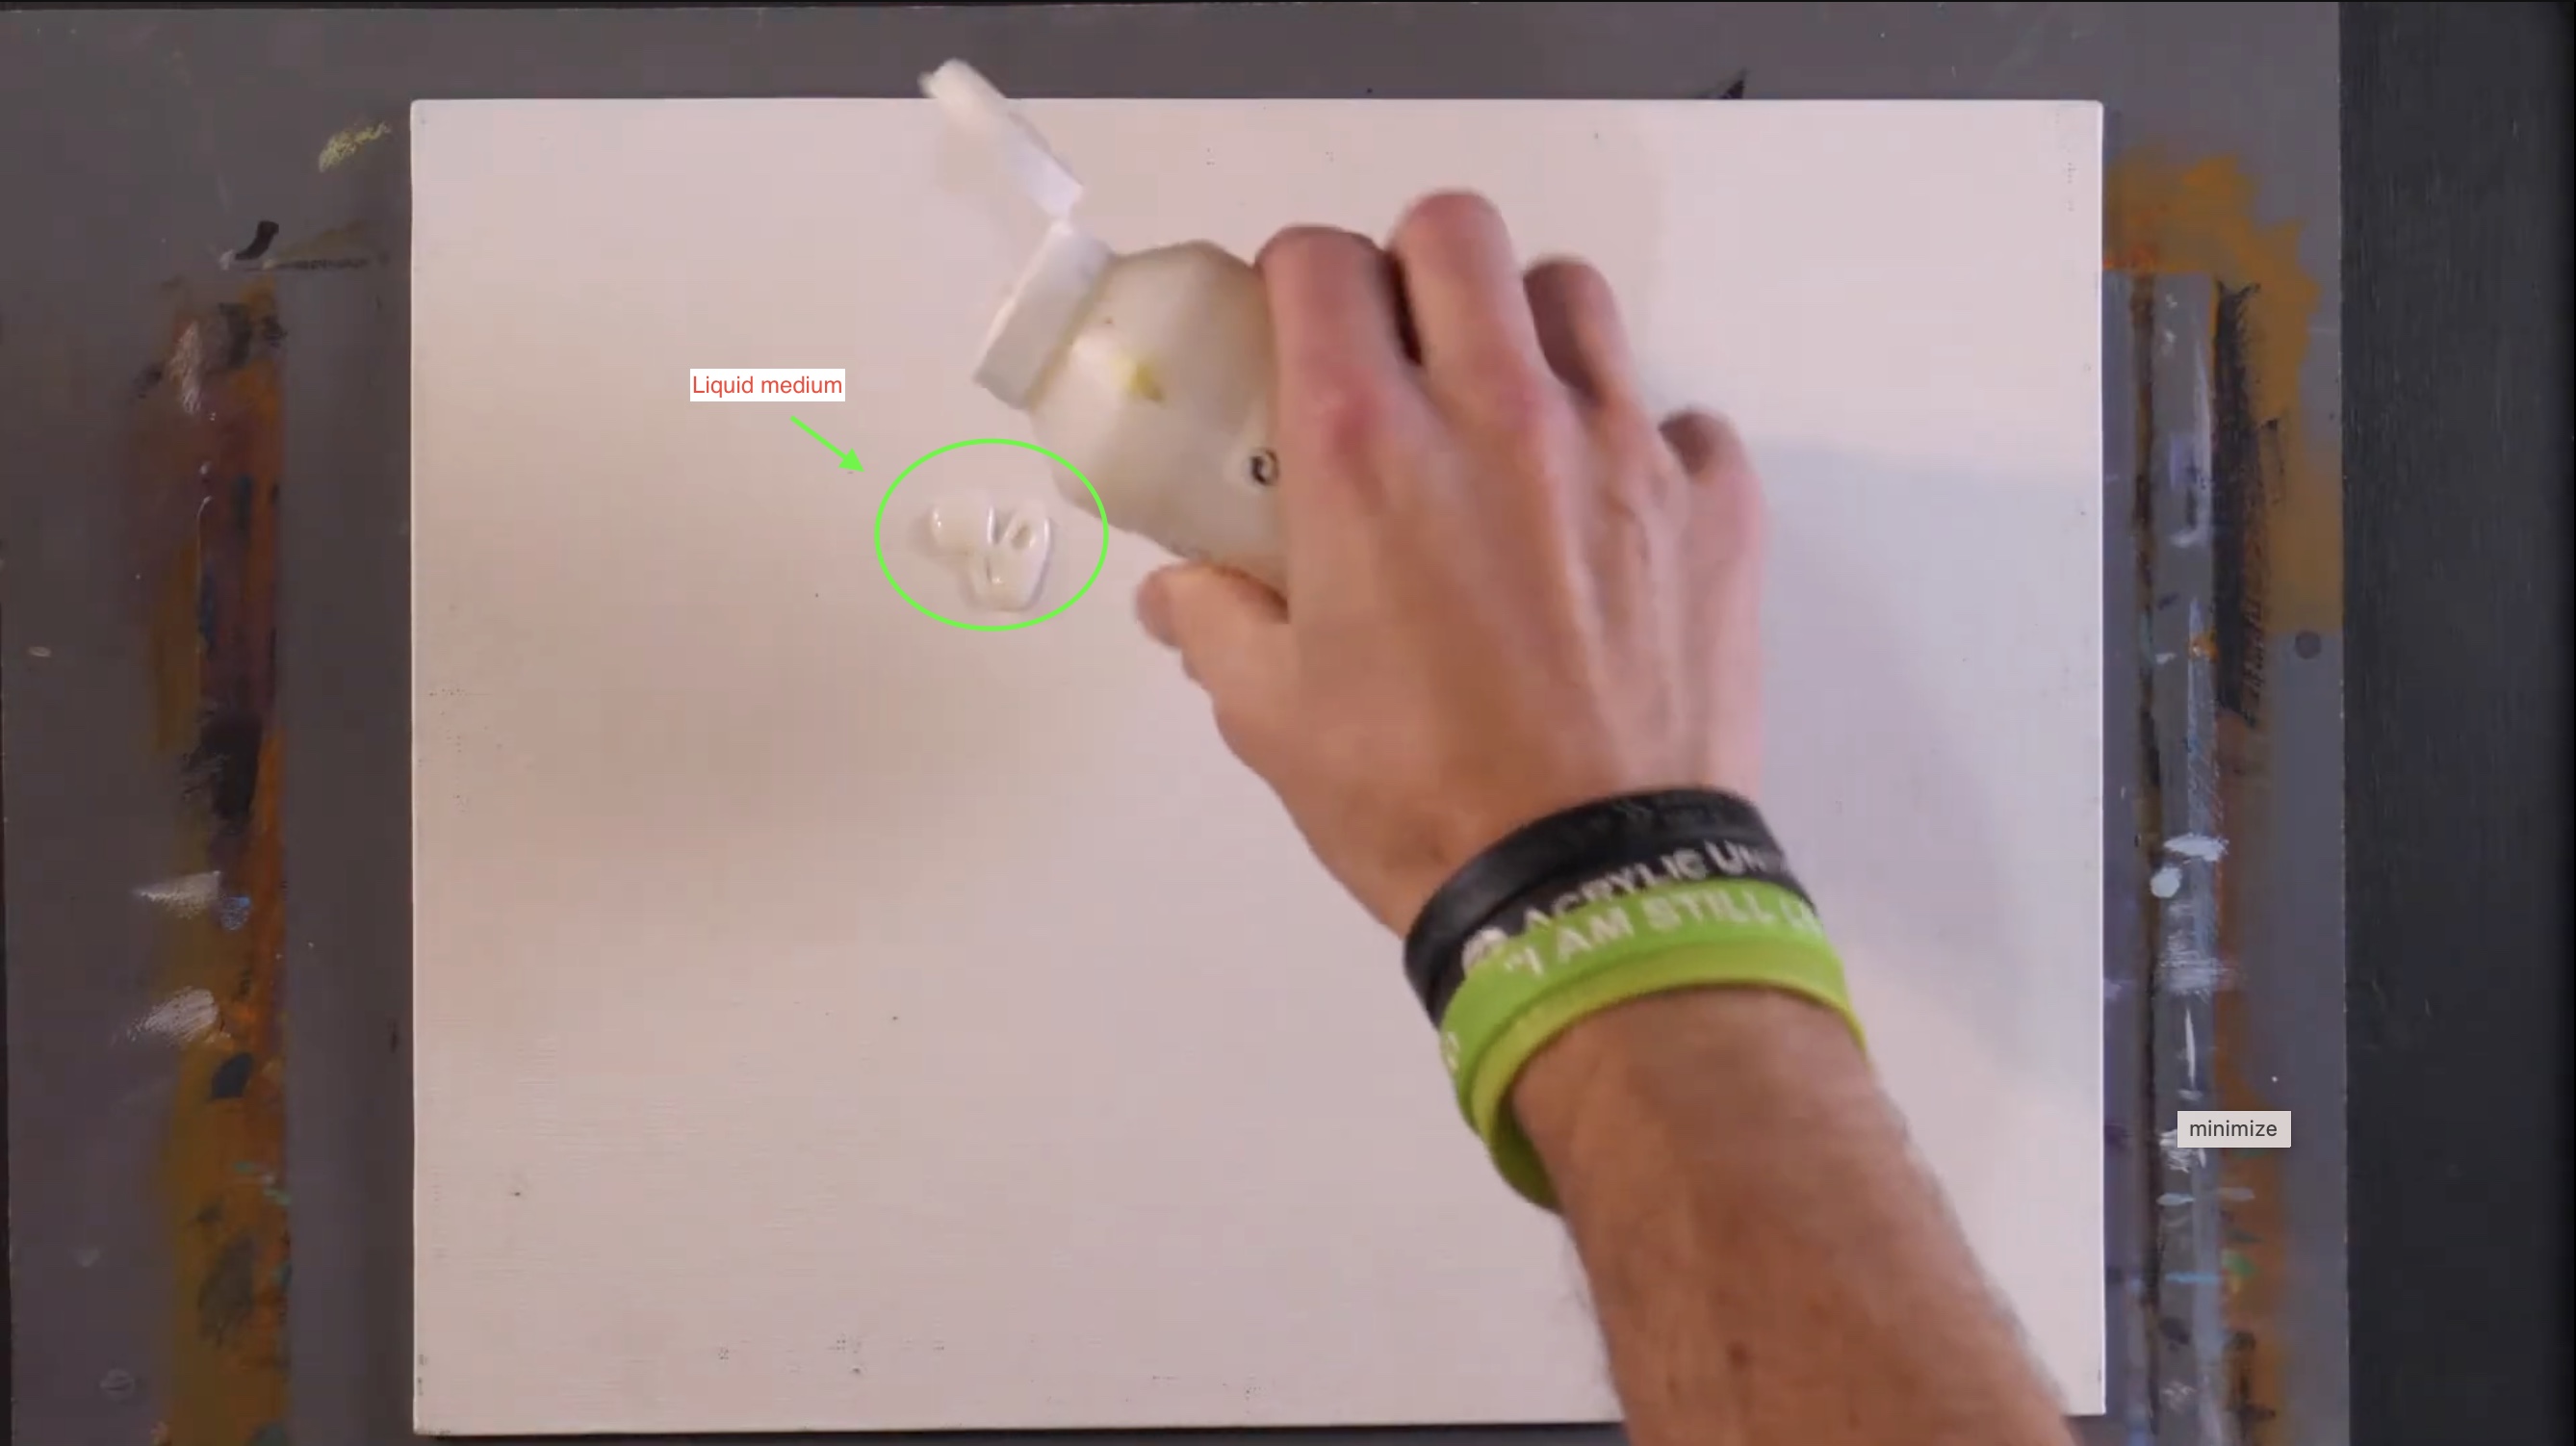
To demonstrate thin brushstrokes, I mix a bit of liquid medium (or water) into my paint so it becomes more fluid and transparent.

I’m using blue here—not because the color matters, but because I want to show how thin strokes are often used for darker, background elements.
Thin brushstrokes are perfect for:
-
Shadows
-
Distant objects
-
Background layers
For example, if I’m painting a tree, I’ll often start with thin, dark strokes. They’re transparent, subtle, and easy to layer over. At this stage, the paint almost feels like watercolor.
This thin layer helps establish depth early on and gives you something to build on later.
2. Scratchy Brushstrokes: Adding Texture
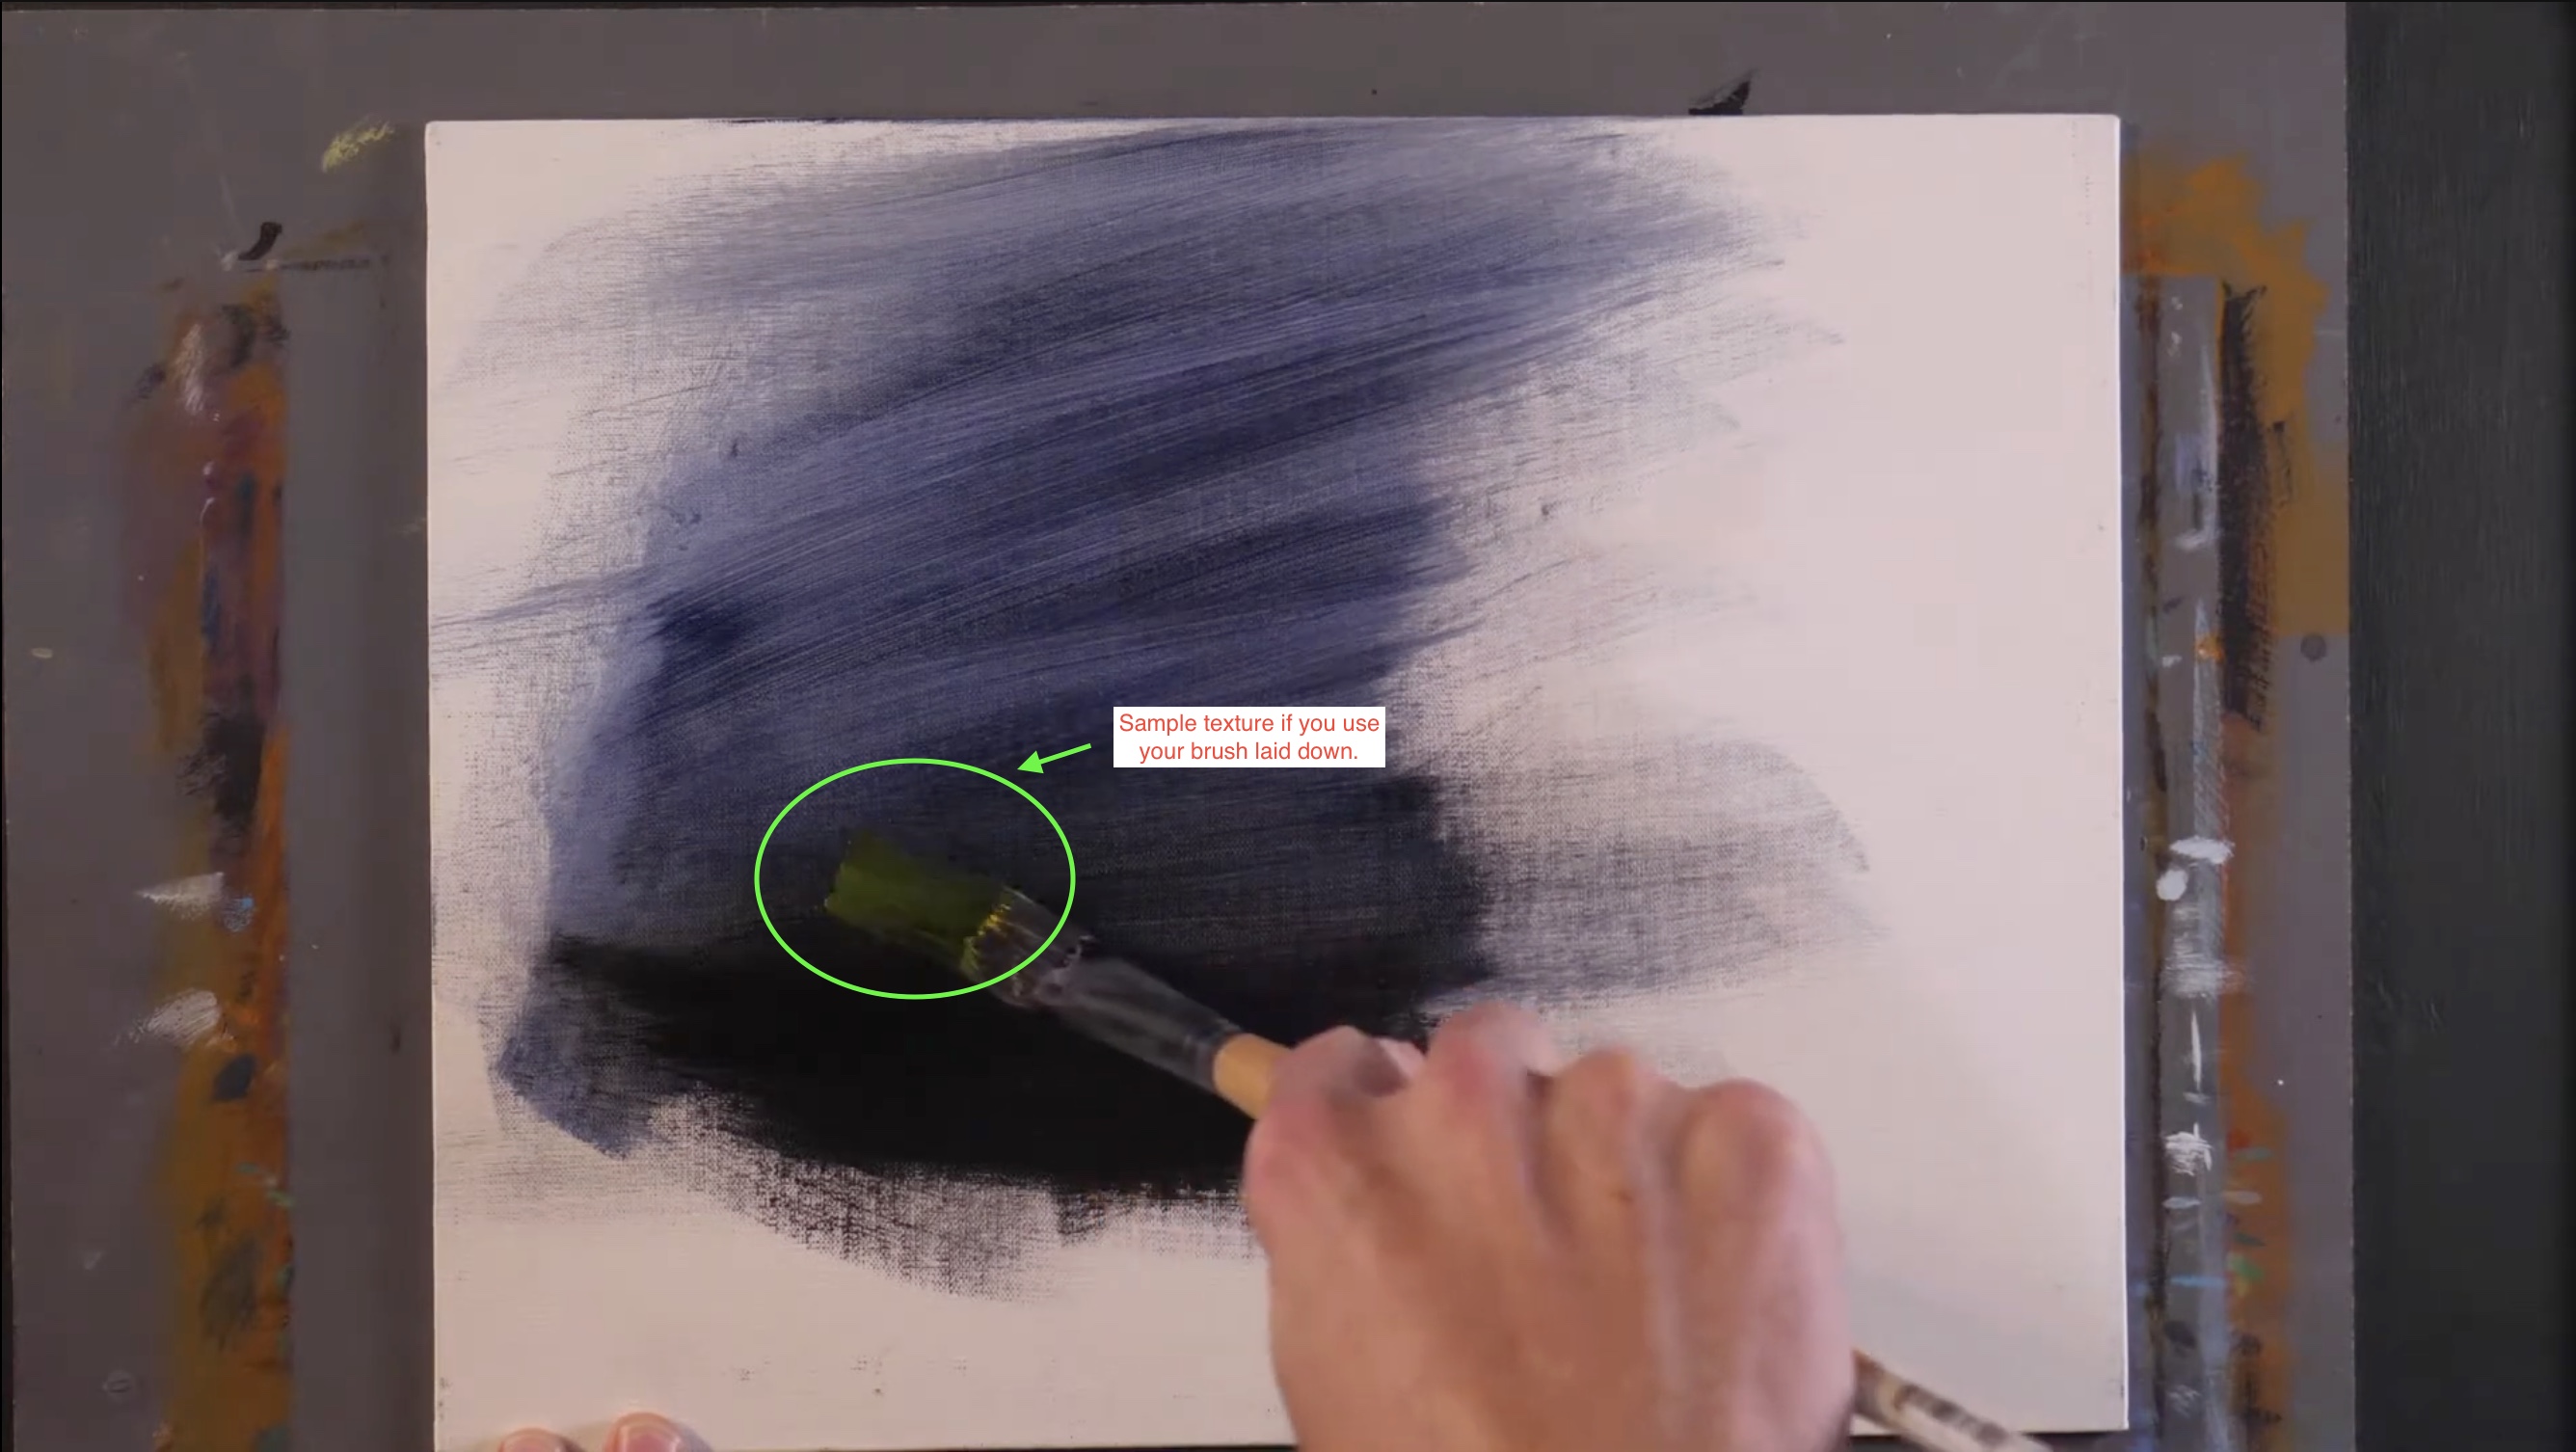
Most people use a brush by laying the bristles flat and dragging it across the surface—and there’s nothing wrong with that.
But if you want more variety, try using the edge of the flat brush.
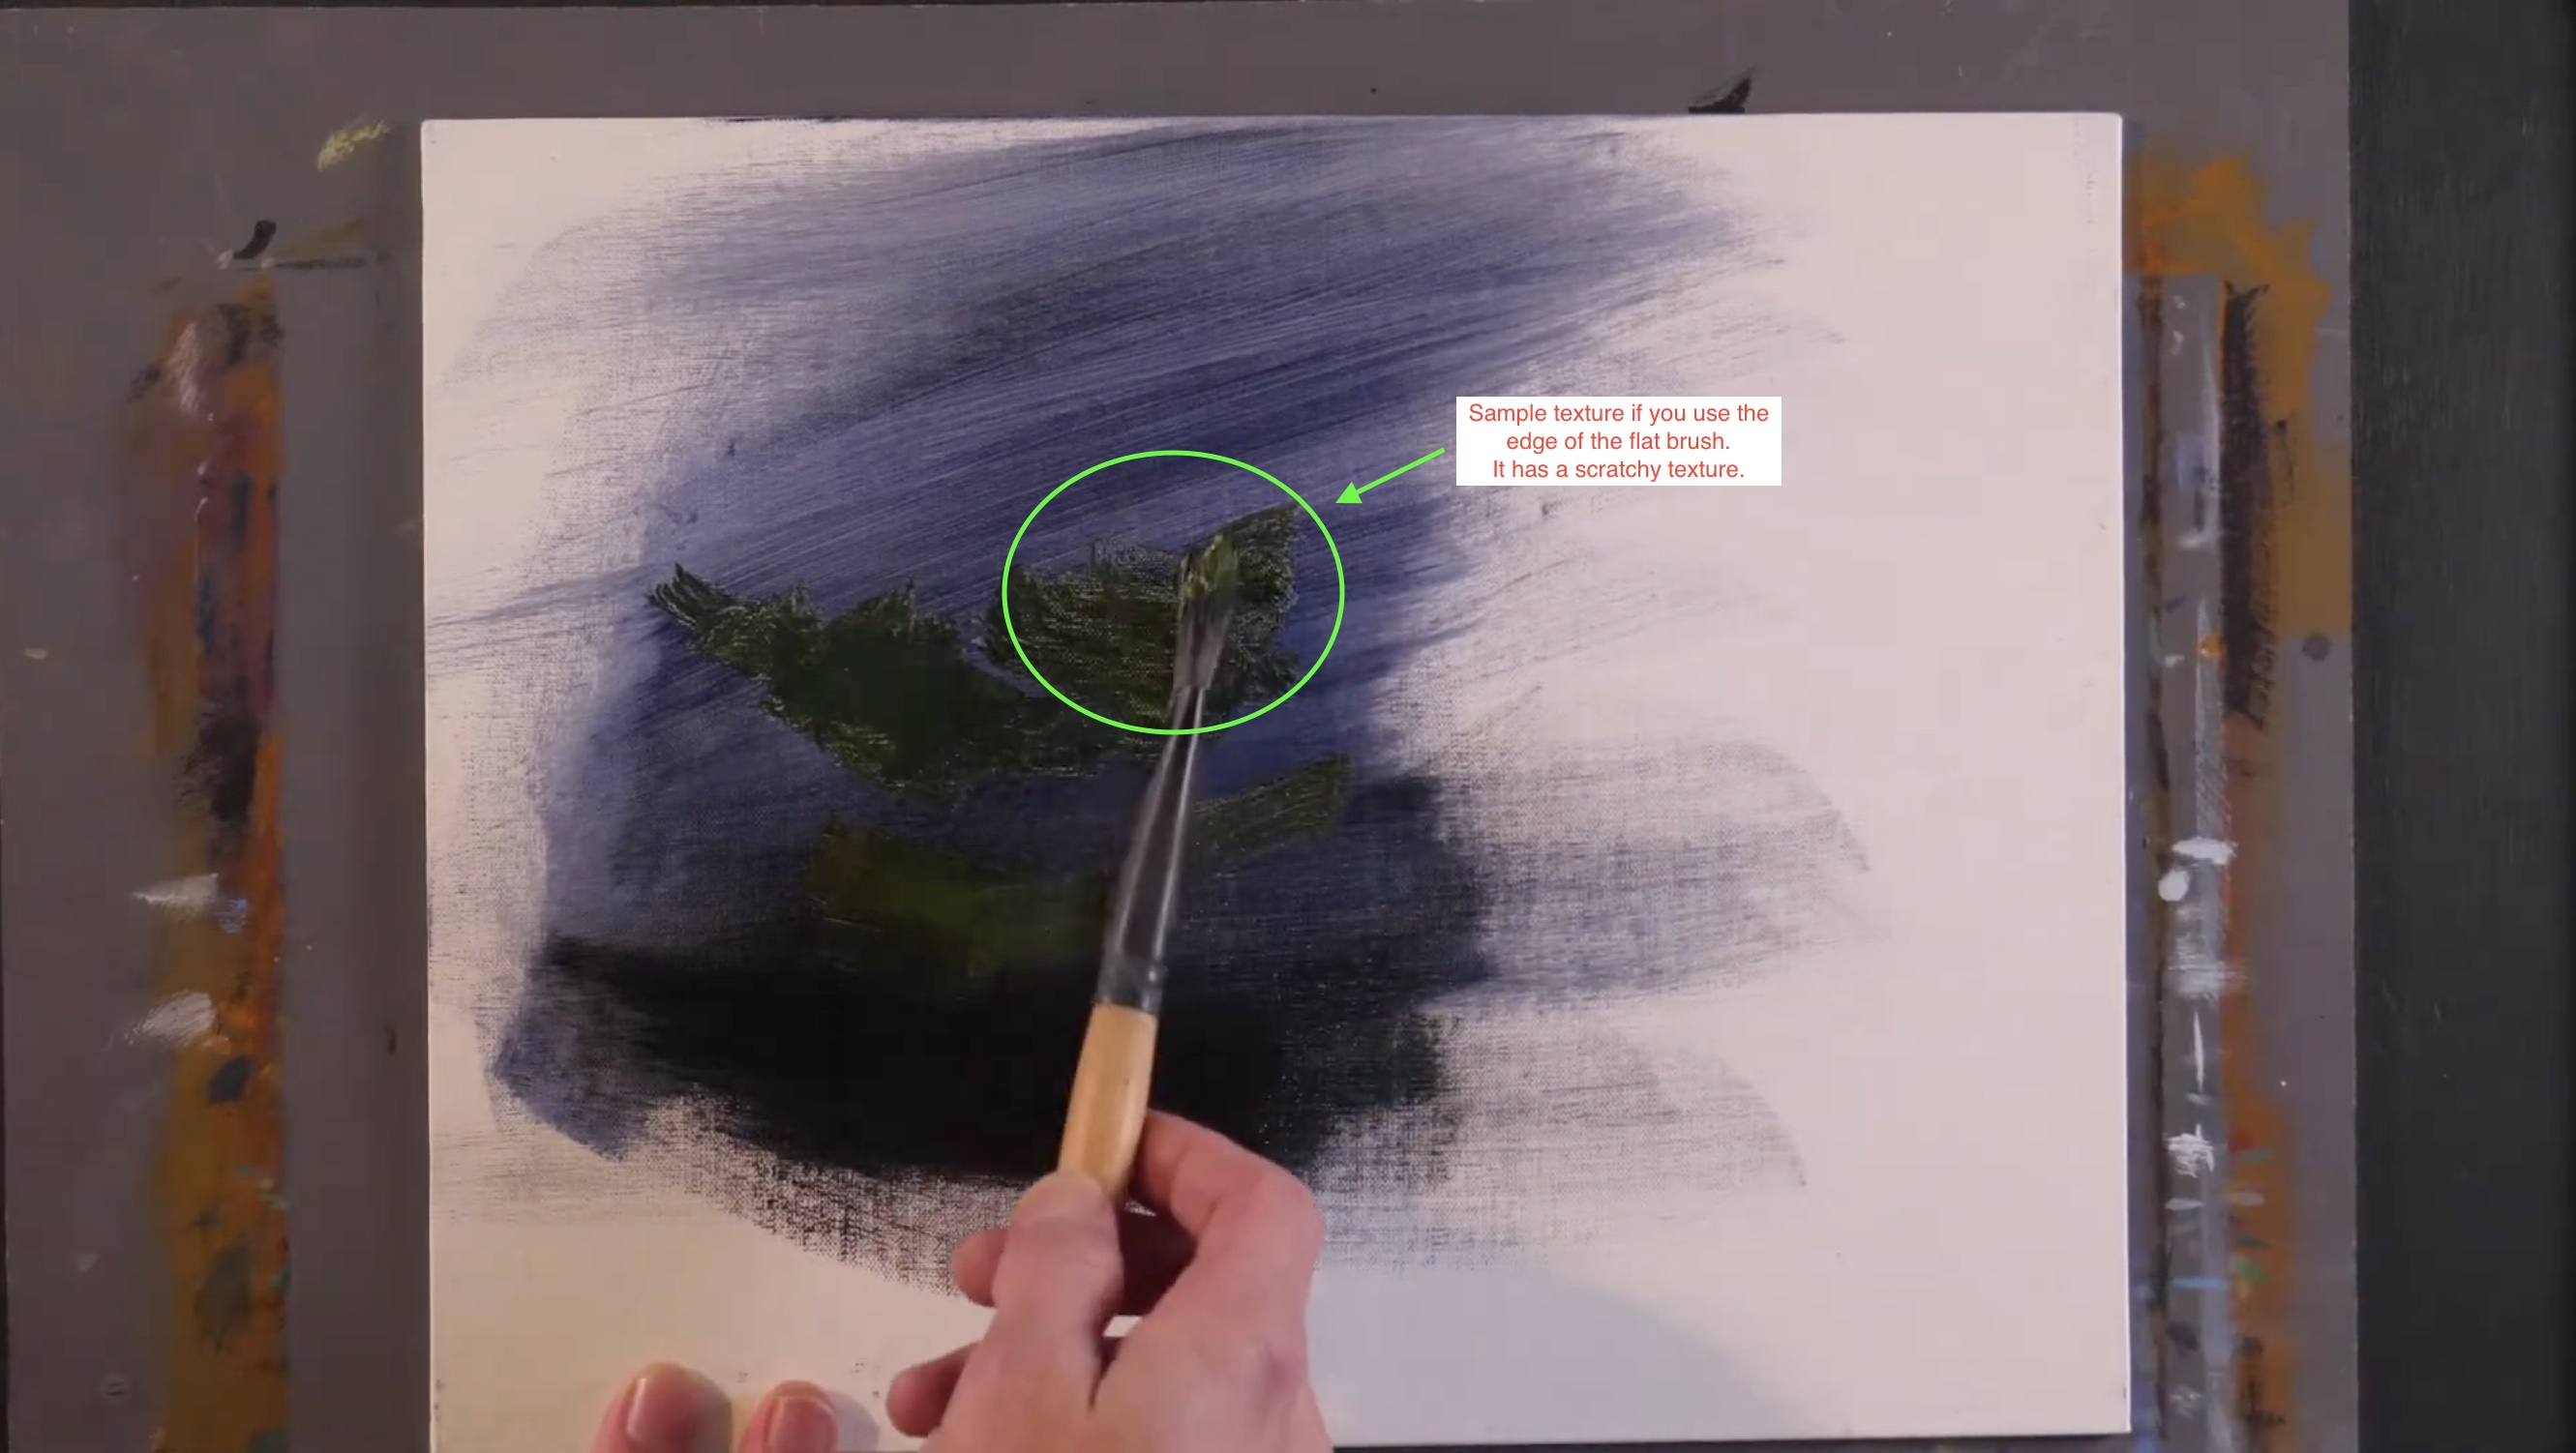
This is what I call a scratchy brushstroke.
By turning the brush slightly on its side and lightly dragging it across the surface, you create broken, textured marks. The brush catches on the paint underneath, producing variation that feels organic and energetic.
Scratchy brushstrokes are great for:
-
Texture
-
Movement
-
Natural elements like bark, grass, or foliage
You don’t need a different brush for this. A smaller flat brush works just as well—the technique stays the same.
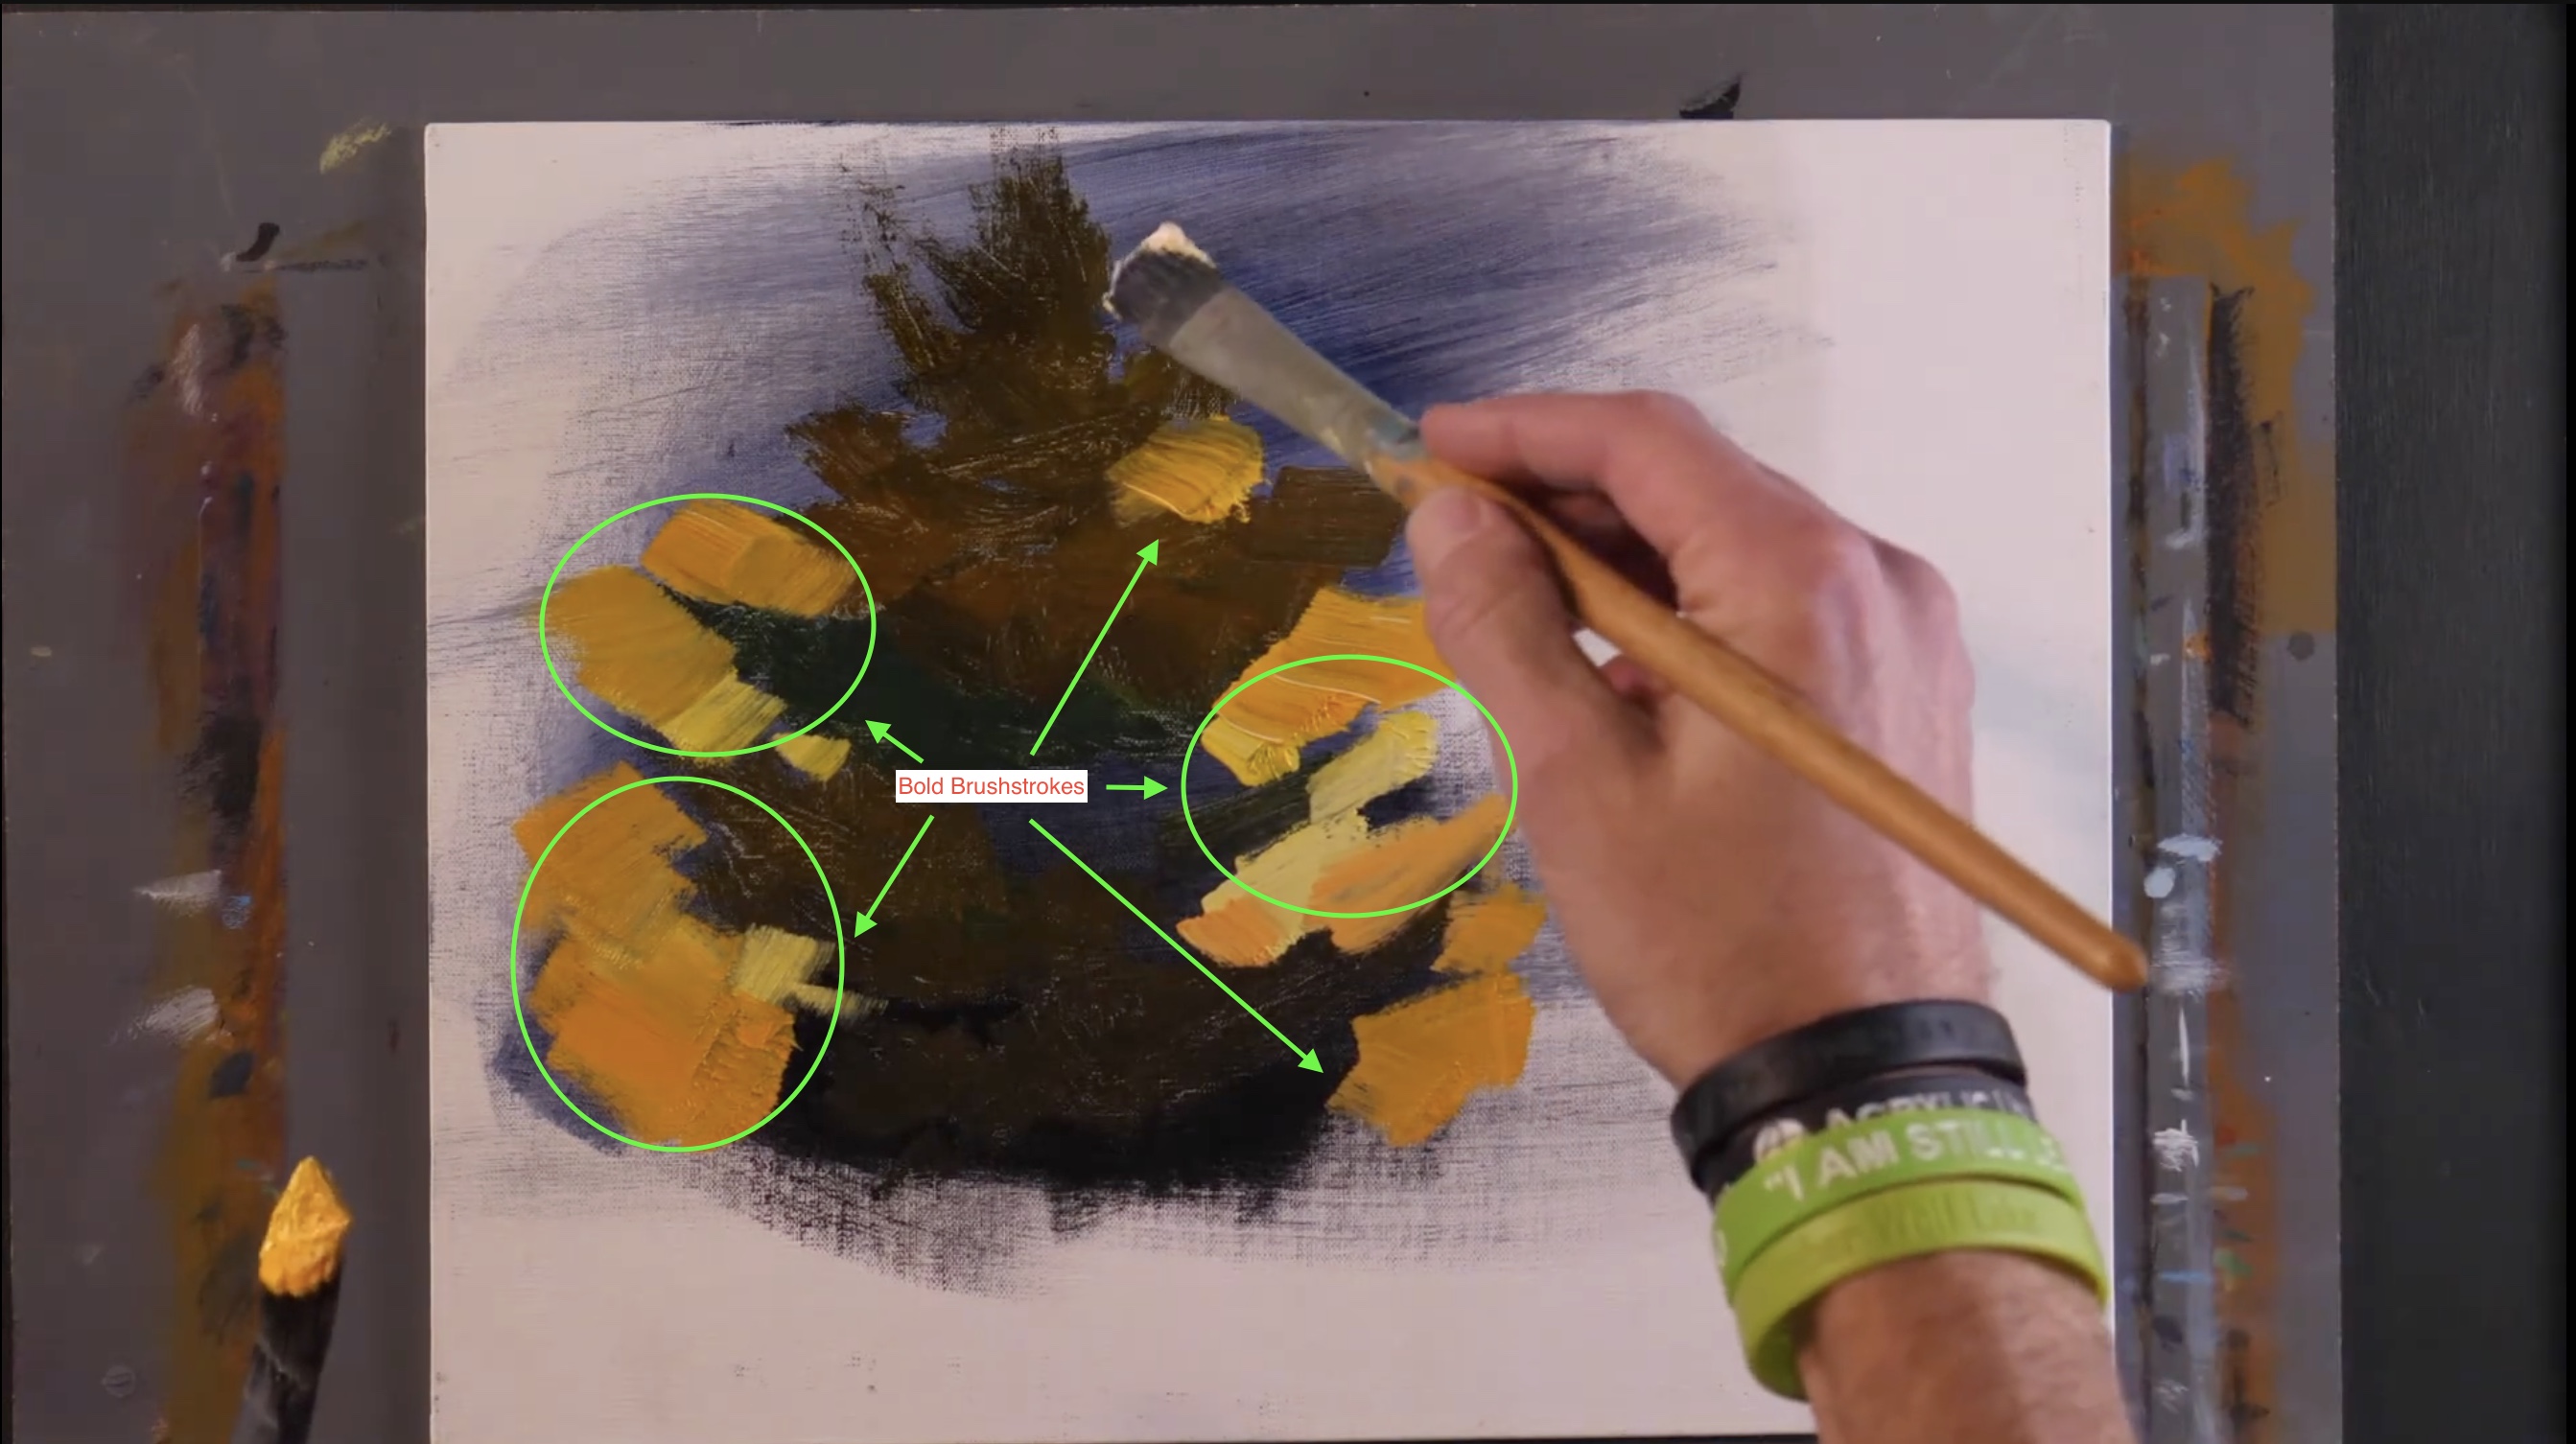
3. Bold Brushstrokes: Bringing the Painting Forward
At some point, a painting needs confidence. That’s where bold brushstrokes come in.
Bold strokes are:
-
Thicker
-
More opaque
-
Loaded with more paint
I usually save these for later in the painting process. While thin strokes push elements back, bold strokes bring things forward.
Imagine a tree in front of a glowing sunset. The background might be thin and atmospheric, but the tree itself needs strong, confident marks to stand out.
Because the paint underneath is still wet, you may even get some natural blending. In acrylics, this means working quickly or using a slow-drying medium—but when it works, it’s beautiful.
These bold strokes sit on top of everything else and complete the sense of depth.
Putting It All Together
So let’s recap the three types of brushstrokes:
-
Thin brushstrokes
Transparent, often darker, and used first to create depth and distance. -
Scratchy brushstrokes
Made using the edge of the brush to add texture and visual interest. -
Bold brushstrokes
Thick, opaque, and confident—used later to bring elements forward.
I generally work from thin to thick, layering as I go. Once the paint dries, you can always come back and add more layers—refining shapes, creating sky holes, or adding highlights—without overworking the piece.
And the best part?
All of this is done with the same type of flat brush.
By thinning the paint, changing the angle, or loading more pigment, you can create incredible variety without switching tools.
Sometimes, less really is more.